Exporting for Inochi2D
Inochi2D is a free and open source 2D animation framework similar to Live2D, currently in beta phase. We can already use it for VTuber activities using their official streaming app, and a discussion regarding implementation of this framework in Ren'Py is already started by both Inochi2D and Ren'Py developers. You can learn more about the project here, follow their Twitter account here, or join their Discord community here.
Please note that Mannequin Character Generator is not related with Inochi2D. If you want to support Inochi2D for the betterment of both the game development and VTuber industry as a whole, we strongly recommend donating via their Patreon, GitHub Sponsors, or contributing codes and translations to the GitHub repository.
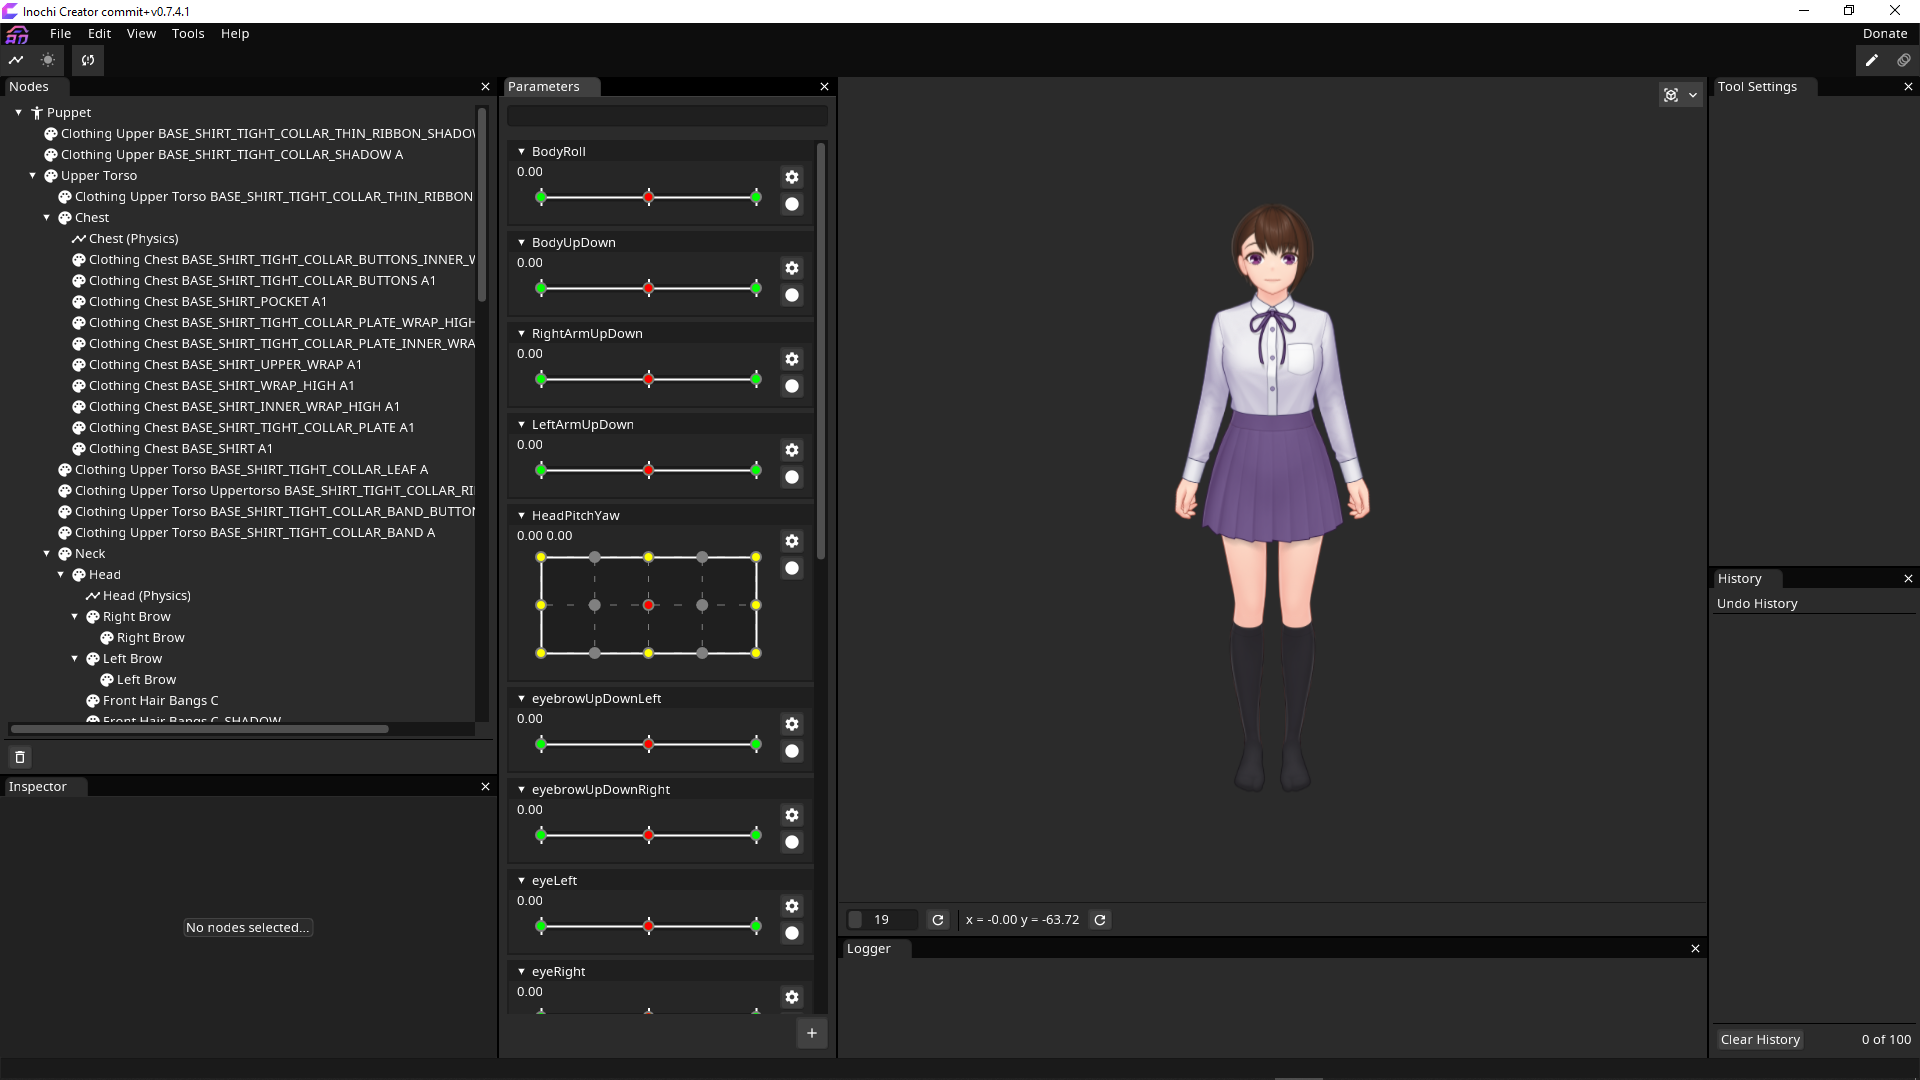
To edit Inochi2D animations, use their official animation editor app (Inochi Creator) which can be downloaded from itch.io or GitHub.
For VTuber livestreaming, use their official livestreaming app (Inochi Session) which can be downloaded from itch.io or GitHub. We strongly recommend using the nightly builds of Inochi Session if you plan to use characters exported by Mannequin Character Generator. These nightly builds of Inochi Session can be downloaded from here.
Both Inochi2D and the Inochi2D export feature in Mannequin Character Generator is still in beta. Backup your character often (especially your exported .inx file) and expect a lot of changes happening quickly as both Inochi2D and Mannequin Character Generator develops further!
Video Tutorials
We have made some video tutorials explaining this export feature:
- Free VTuber Livestreaming with Mannequin Character Generator, Inochi2D and OBS!
- VTuber Webcam Tracking Setup and Adjustments in Inochi Session
Choosing Templates for Inochi2D Export
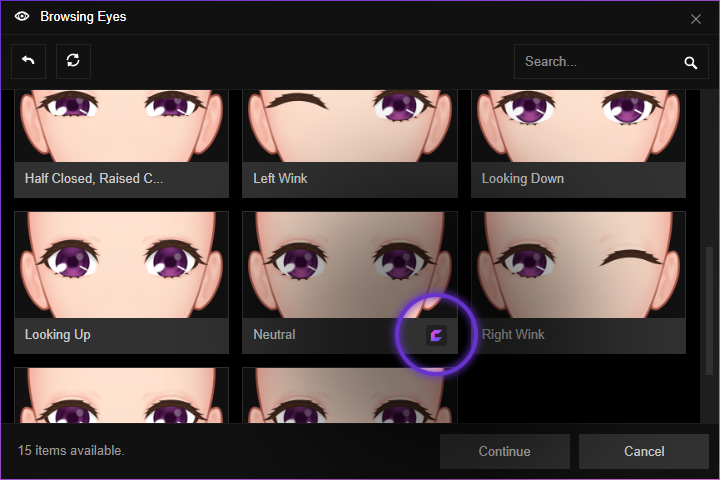
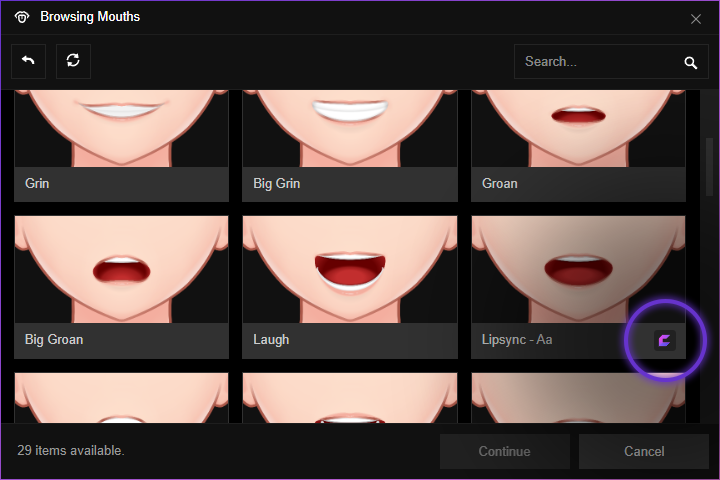
To export pre-rigged characters with head turn, eye gaze, blink and lip sync already set up, choose pose, clothing or body parts templates which are pre-rigged. Templates which are pre-rigged for Inochi2D are marked with Inochi Creator icon.
You need to use these marked templates for the following aspects of your character in order to generate a fully rigged output:
- Pose
- Head
- Ear
- Hair (every hair parts from Primary Hairstyle, Bangs, to Additional Hair Parts)
- Nose
- Brow
- Eye
- Mouth
- Face Colors
- Clothing
After making sure you have chosen proper templates for the aspects mentioned above, simply choose the Inochi Creator (.inx) format option when exporting your character. Now your exported character will have parameters already generated when opened with Inochi Creator.
Using Pre-rigged Inochi2D Export for Livestreaming
In order to use your pre-rigged character for VTuber livestreaming, first you'll need:
- The latest nightly builds of Inochi Session which can be downloaded from here (this is temporary, if Inochi Session 0.5.5 is already out you can use that version instead).
- The latest version of Open Broadcaster Software (OBS) which can be downloaded from here.
- The latest version of OBS Spout2 Plugin which can be downloaded from here.
- Either one of these:
- A webcam and the latest version of OpenSeeFace which can be downloaded from here.
- A smartphone with VTube Studio installed. You can get VTube Studio for Android here, or get the iOS version here.
When exporting to .inx in Mannequin Character Generator, make sure you've chosen your preferred tracking method (webcam or smartphone) before proceeding!
Setting Up Webcam Tracking for Inochi Session using OpenSeeFace
If you prefer to use smartphone tracking instead of webcam, then skip this and follow the VTube Studio guide below.
To set up OpenSeeFace tracking in Inochi Session, configure the virtual space by opening View -> Virtual Space. In the Virtual Space window that shows up, enter your desired virtual space name in the input field ("Default", for example). Then, click the + button to create a new virtual space.
After creating the virtual space, the next step is to add OpenSeeFace as a tracker. To do this, select the virtual space that you've just created, and in the right side of Virtual Space window you will see another + button. Click this button, and choose OpenSeeFace in the drop-down menu that shows up.
- For
osf_bind_port, enter11573 - For
osf_bind_ip, enter0.0.0.0
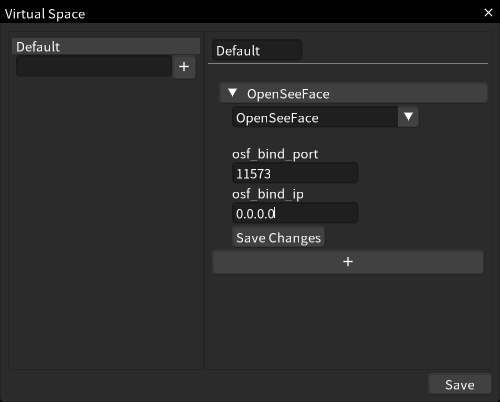
After that, click Save Changes and close the window.
Now it's time to run OpenSeeFace so it can start tracking your movement via the webcam. To do this, first extract the ZIP file that you got from the GitHub link above. Open the extracted folder, then open the Binary subfolder. Inside, you'll find facetracker.exe and run.bat. If you want to do some set-up first (choosing framerate, resolution, or if you have multiple webcam connected to your system) then open run.bat. Otherwise, you can open facetracker.exe for instant use. For Linux users, you can follow this guide.
Setting Up Smartphone Tracking for Inochi Session using VTube Studio
If you prefer to use webcam tracking instead of smartphone, then follow the OpenSeeFace guide above and skip this.
To set up VTube Studio tracking in Inochi Session, configure the virtual space by opening View -> Virtual Space. In the Virtual Space window that shows up, enter your desired virtual space name in the input field ("Default", for example). Then, click the + button to create a new virtual space.
After creating the virtual space, the next step is to add VTube Studio as a tracker. To do this, select the virtual space that you've just created, and in the right side of Virtual Space window you will see another + button. Click this button, and choose VTube Studio in the drop-down menu that shows up.
Open VTube Studio on your smartphone, and tap the gear icon. Scroll to the bottom to find 3rd Party PC Clients section. Toggle Activate on, and click the Show IP List button. Enter the IP address shown into the phoneIP field in Inochi Session. For pollingFactor, enter 1. Make sure both your computer and your smartphone are connected into the same local network (LAN/WiFi).
After that, click Save Changes and close the window.
Loading Your Character to Inochi Session
To load your previously exported character to Inochi Session, just drag and drop the correspoding .inx file from file manager/explorer to Inochi Session window. If OpenSeeFace has already set up by following previous steps above, your character should immediately move according to the face tracker.
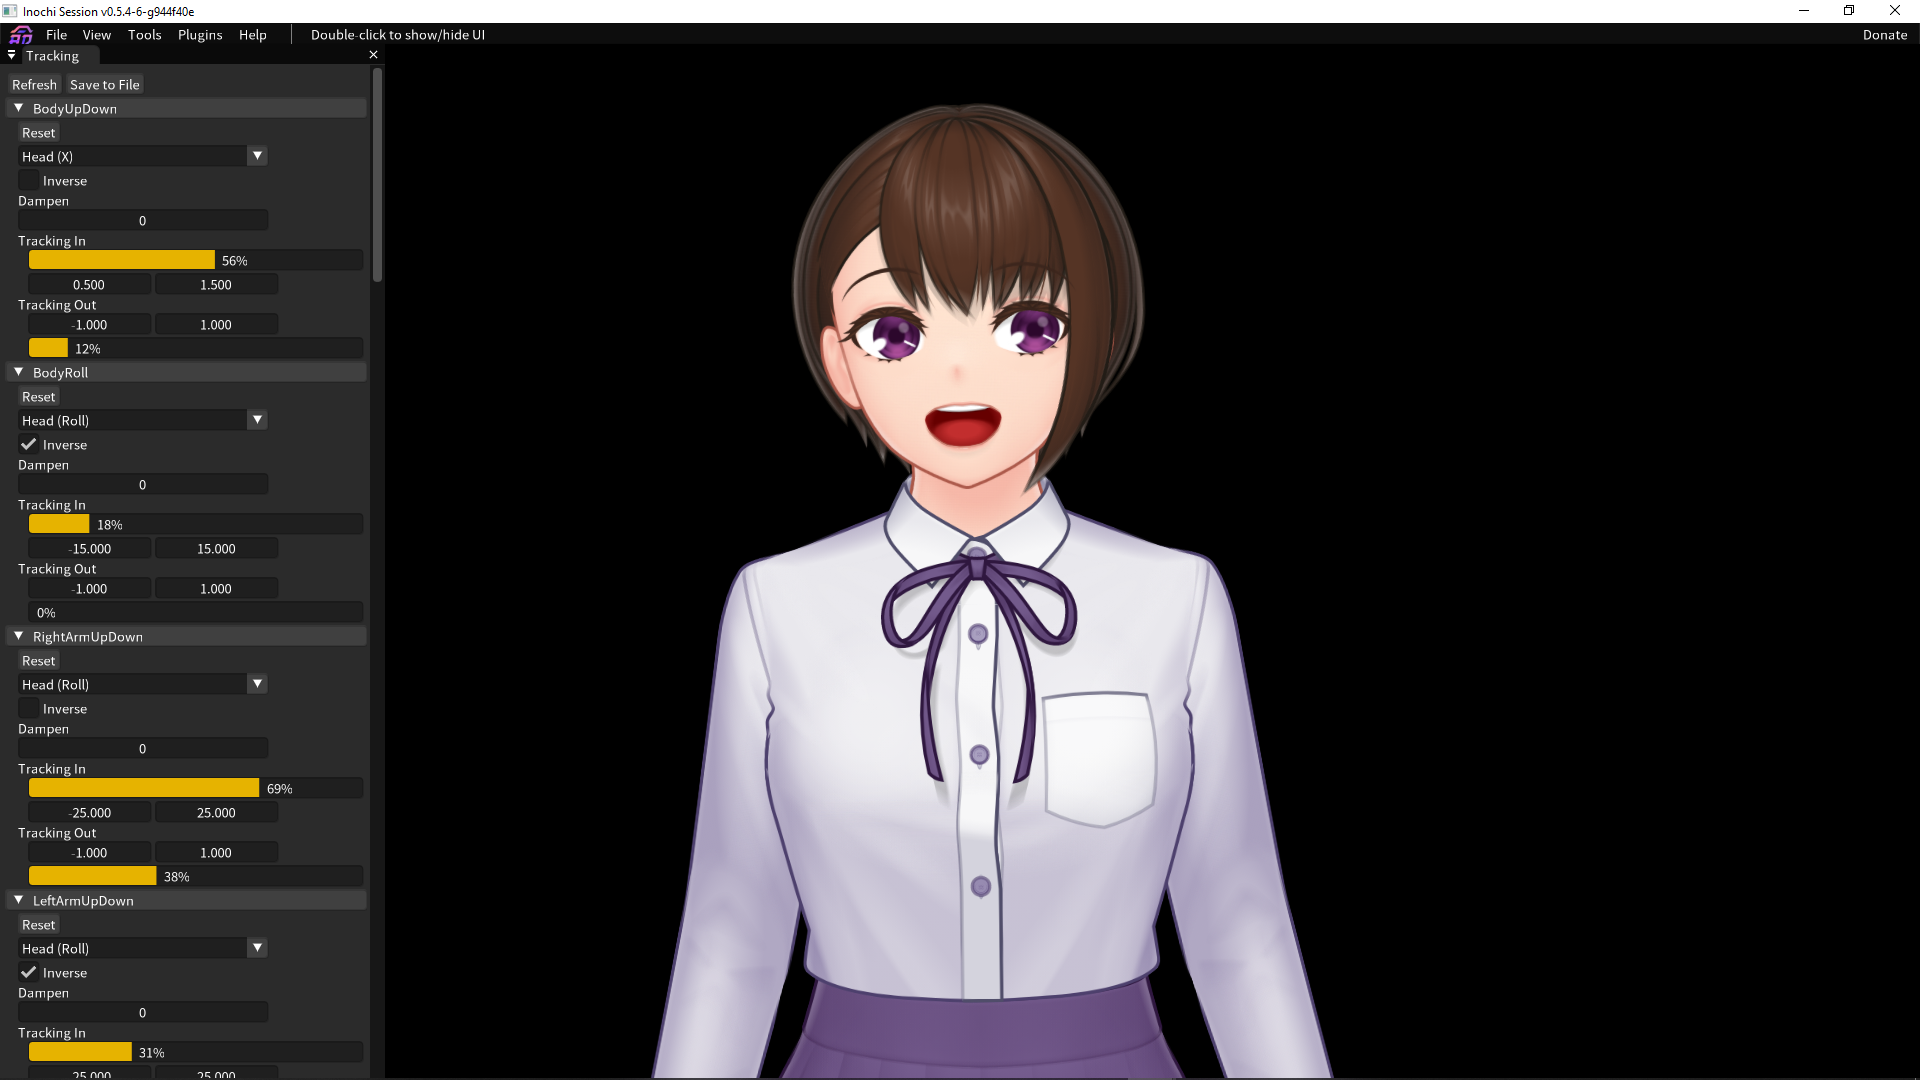
To reposition your character, just click and drag across the Inochi Session window. To zoom in/out, click and hold your character, and use mouse scroll.
If you are experiencing trailing images glitch in Inochi Session, turning off Post Processing might help.
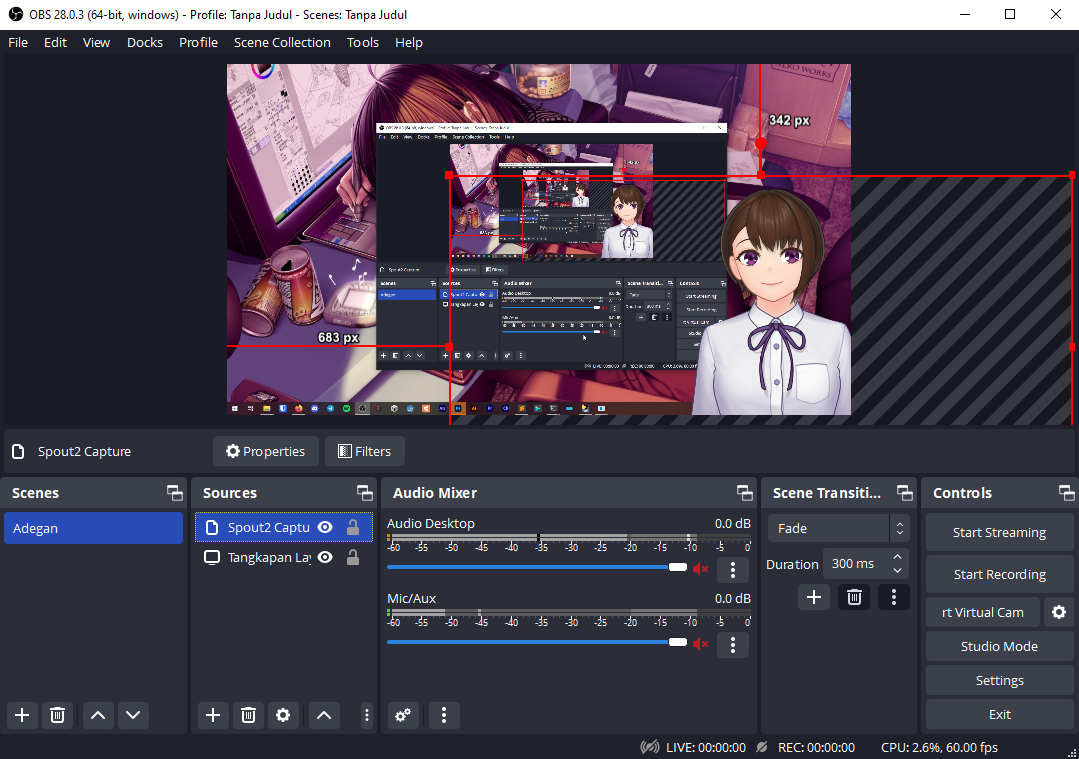
Sending Video Data from Inochi Session to OBS
Now that your character is already moving in Inochi Session according to the face tracker, the next step is displaying the output into OBS. First, make sure you have already installed the OBS Spout2 Plugin from the GitHub link above. Then, add a new source in OBS and choose Spout2 Capture.
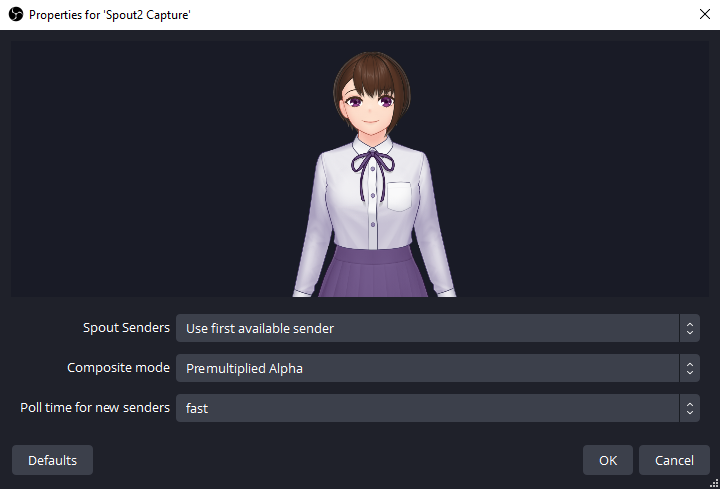
In the Properties window that shows up, use these values in the drop-down menu fields:
- For
Spout Senders, chooseInochi Session(or if you're not running another app which also uses Spout2, you can chooseUse first available sender) - For
Composite Mode, choosePremultiplied Alpha
After that, click OK. Your character will now appear in the preview, with transparent background, ready to be composited to your stream!
Additional Tips
In order to improve performance in Inochi Session, consider doing these:
- Disable post processing effects by opening the Scene Settings panel
View -> Scene Settingsand uncheckPost Processing. - Resize Inochi Session window to a smaller size.
- Use
.inpfile instead of.inxfile generated by Mannequin Character Generator. To generate an.inpfile from your existing.inxfile, open the corresponding file in Inochi Creator, and then openFile -> Export -> Inochi2D Puppet. In theExport Optionswindow that shows up, click theResolutiondrop-down menu and choose4096x4096for optimal result.
If you want to customize Mannequin Character Generator's exported .inx file further using Inochi Creator, you can learn more about how to use it here.